
This website is a participant in the Amazon Services LLC Associates Program, an affiliate advertising program designed to provide a means for us to earn fees by linking to Amazon.com and affiliated sites.
Knowing how to put a projector lens back together is essential when your device starts displaying blurry images, uneven focus, or distorted visuals. The process may look complicated, but with the right steps, you can safely reassemble the lens system and restore your projector’s clarity. Many projector owners encounter issues caused by dust, accidental disassembly, or misaligned lens elements, making proper reassembly an important skill for both beginners and tech enthusiasts.
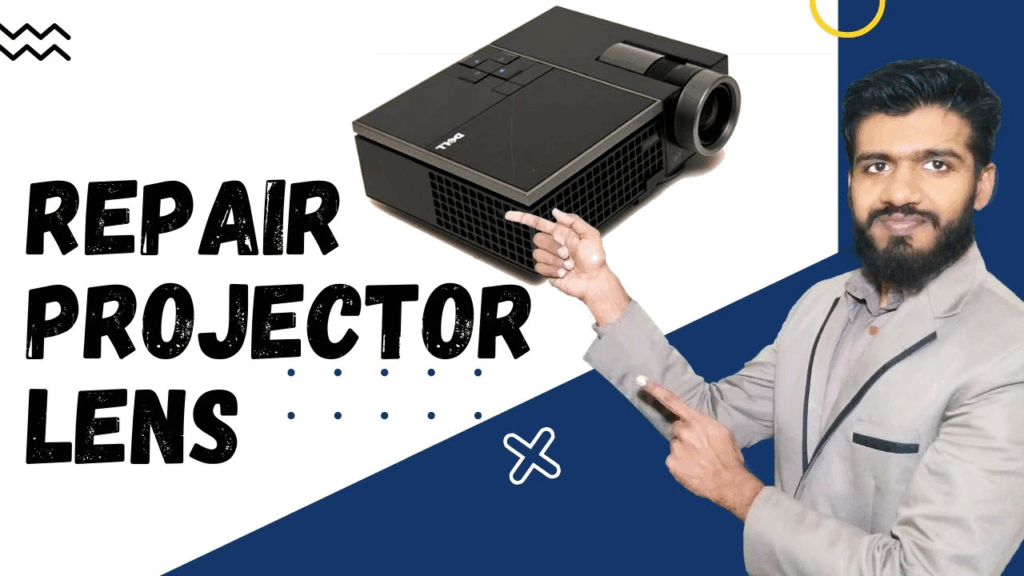
Reassembling a projector lens doesn’t require advanced tools—just careful handling, attention to detail, and a clean environment.
Best for Reassembling a Projector Lens: Top Product Recommendations
KODAK Luma Lens Cleaning & Repair Kit
This kit is ideal because it includes precision tools, microfiber cloths, and dust-free cleaning supplies that help you safely handle delicate lens elements during reassembly without scratching or misaligning them.

- 💙【Camera Accessories Kit】K&F Concept Lens Dust Blower*1, Lens…
- 💙【Vacuumed Package】Each sensor cleaning swab is made in a Class…
- 💙【16mm Sensor Cleaning Swabs】Compatible with Canon/Nikon/Pentax…
VIVIMAGE Optical Alignment Tool Set
I chose this set because it provides small alignment guides and measuring tools that help keep lens pieces centered. This ensures your projector’s focus is sharp and evenly distributed across the screen after reassembly.

- Our complete eyewear tool kit contains everything you need, even for…
- Includes 8 pairs of durable stainless steel optical pliers essential to…
- Includes 6 of the most common sizes of eyewear screwdrivers suitable for…
NEBULA Pro Mini Maintenance Kit
This compact kit is perfect for quick at-home projector repairs. It includes anti-static gloves, tweezers, and safe handling tools that make it easier to reinsert and secure small projector lens components.

- COMPLETE KIT: 24-piece replacement set includes 2 roller brushes…
- ROLLER BRUSHES: Dual spiral-designed main brushes effectively lift dirt and…
- FILTRATION SYSTEM: Set of 4 high-performance filters trap fine dust…
Understanding the Parts of a Projector Lens Assembly
Before learning how to put a projector lens back together, it’s important to understand the core components that make up the lens system. Knowing what each piece does makes reassembly much easier and reduces the risk of damage. Projector lenses typically contain multiple glass elements arranged in a specific optical order, and each part plays a role in producing a sharp and accurate image.
The outer lens is usually the first part you’ll recognize. It helps control the initial amount of light entering the projector and contributes to the overall focus. Directly behind it, you’ll find internal lens elements, which may be curved or flat depending on the model. These pieces correct distortion and ensure the projected image stays uniform from edge to edge.
Most projectors also include spacers and rings, which keep each piece of glass aligned. These are small but essential parts, and placing them incorrectly can lead to uneven focus or blurriness. Additionally, the lens housing provides structural support and holds all the elements securely in place once reassembled.
Understanding these components brings clarity to the reassembly process and helps you identify where each piece belongs. It also reduces the chance of inserting a lens element backward or tightening the housing improperly. With this foundation, you’ll be better prepared to approach the hands-on steps involved in rebuilding your projector lens with care and accuracy.
Preparing Your Workspace Before Reassembling the Projector Lens
Creating the right workspace is one of the most important steps when learning how to put a projector lens back together. A clean, controlled environment helps protect delicate glass surfaces from dust, scratches, and fingerprints. Even a tiny speck of dust trapped between lens layers can affect image clarity, so preparing the area properly ensures a smooth and successful reassembly.
Start by choosing a flat, stable surface with plenty of light. Bright lighting makes it easier to see small parts, alignment rings, and the orientation of each lens element. Cover the workspace with a soft, lint-free cloth to prevent scratches on the glass. This also helps keep pieces from rolling or sliding away as you work.
Next, make sure your hands and tools are clean. Wearing anti-static gloves is recommended because they reduce static buildup and prevent smudges. Keep microfiber cloths, compressed air, and any tools from your repair kit close by so you can work efficiently without leaving the area.
It’s also smart to organize the lens components before starting. Laying them out in the order they were removed—or arranging them by size and curvature—helps avoid confusion during reassembly. If you’re unsure about the order, refer to your projector’s manual or photos you may have taken during disassembly.
Preparing your workspace properly not only makes the lens reassembly process easier but also reduces the risk of damage, misalignment, or contamination. With everything clean, organized, and within reach, you’re ready to begin rebuilding your projector lens with confidence.
Step-by-Step Guide on How to Put a Projector Lens Back Together
Reassembling a projector lens may seem intimidating, but following a structured process ensures each component fits back into place correctly. These steps apply to most standard projector lenses and help you restore clean, sharp projection without damaging delicate parts.
Begin by identifying the first lens element that sits inside the housing. This piece usually has a flat or slightly curved surface facing outward. Place it gently into the lens barrel, ensuring it lies completely flat and centered. Any tilt can cause uneven focus later. Next, insert the spacer or retaining ring that sits above the first element. These thin components keep the lens pieces aligned and should fit snugly without forcing them.
Continue stacking the remaining lens elements in the same order they were removed. Pay close attention to the curvature of each piece. Some lenses must face a specific direction to correct distortion or maintain light balance. If you’re unsure, compare each side under strong lighting to determine which direction matches your projector’s design.
Once all elements and spacers are inside the housing, carefully tighten the retaining ring or top cover. Use gentle pressure to avoid cracking the glass or damaging the threads. After securing everything, check for dust or smudges and clean the lens surfaces with a microfiber cloth.
By following this step-by-step process, you can confidently rebuild your projector lens and restore clear, accurate image projection.
How to Align and Secure the Lens After Reassembly
Once you’ve placed all the lens elements back into the housing, the next important step is aligning and securing the assembly. Proper alignment ensures that the projector creates a centered, sharp, and evenly lit image. Even a minor misalignment can result in shadows, uneven brightness, or blurry edges, so this stage requires careful attention.
Begin by gently rotating the outer lens housing to feel if all the pieces sit properly. If anything feels loose or crooked, stop and check whether a spacer or internal element is out of place. A well-seated lens should rotate smoothly without grinding or friction. After confirming the internal stability, position the lens assembly back into the projector body. Most models include guide rails or notches that help you insert the lens in the correct orientation.
Once the assembly is seated, tighten the mounting screws using soft, even pressure. Avoid overtightening because it can shift the internal lens layers or crack the edges. With the lens secured, turn on your projector and display a test image. A simple grid pattern or plain white screen works best for checking alignment.
Look closely for dark corners, slanted edges, or areas that appear fuzzier than the rest. If you notice issues, make small rotational adjustments or re-seat the lens slightly until the image appears uniform. Precision is key here—each adjustment should be subtle to prevent misalignment.
Troubleshooting Common Issues After Reassembling a Projector Lens
Even after carefully learning how to put a projector lens back together, you may encounter issues that affect image quality. Troubleshooting these problems early helps prevent long-term damage and ensures your projector performs at its best. Most lens-related problems come from minor misalignments, dust, or incorrect lens orientation, all of which can be corrected with simple adjustments.
If the image appears blurry, start by checking the focus ring. Sometimes the ring may feel tight or stuck because the internal lens elements are not perfectly seated. Rotate the ring gently through its full range to help the lenses settle. If blurriness persists, inspect the internal lens stack to ensure no element is upside down or slightly angled.
Uneven brightness or dark corners often indicate misalignment. In this case, project a full white screen and look for shadows or dim spots. Loosen the lens mount slightly and adjust the angle until the brightness looks uniform. Small movements can make a significant difference, so be patient.
Dust spots are another common issue. If you see small dark marks on the image, open the housing again and clean the lens surfaces with compressed air or a microfiber cloth. Avoid wiping aggressively because it can create fine scratches that affect clarity.
By addressing these common issues, you’ll ensure your projector delivers sharp, balanced visuals and performs like new after reassembly.
Conclusion
Putting a projector lens back together becomes much easier when you understand each component and follow a clear, step-by-step process. From preparing a clean workspace to aligning the lens elements correctly, every stage plays an important role in achieving a sharp, balanced image. Taking your time and handling each part gently helps prevent damage and ensures your projector performs at its best. If issues arise, simple troubleshooting techniques can quickly restore clarity and focus
Frequently Asked Questions About How to Put a Projector Lens Back Together
What tools do I need to reassemble a projector lens?
Most projector lenses can be reassembled using basic tools such as a microfiber cloth, tweezers, compressed air, and a small screwdriver. Anti-static gloves are also helpful for preventing fingerprints and dust from sticking to the lens elements.
How do I know the correct order of the lens pieces?
The safest method is to follow photos taken during disassembly or refer to your projector’s service manual. Each lens element has a specific curvature and orientation, so placing them in the wrong order can lead to blurriness or distortion. If uncertain, look closely at the edges and shape of each piece to match the original design.
Why is my image still blurry after reassembling the lens?
Blurriness typically means one of the lens elements is misaligned or not seated properly. Check the internal stack to ensure every piece is flat and centered. Also, rotate the focus ring through its full range to help the components settle into place.
What should I do if there are dust spots on the projected image?
Dust specks appear as dark marks on the screen. To fix this, carefully reopen the lens housing and clean each glass surface using compressed air or a microfiber cloth. Make sure your workspace is dust-free before reassembly.
Can putting a projector lens back together damage the projector?
Damage occurs only when the lens elements are forced into place or tightened too aggressively. Working slowly, using proper tools, and following a clean process significantly reduces the risk of harming your projector.
How often should I clean or service the lens?
Most projector lenses need cleaning only when image quality changes noticeably. Regular maintenance during bulb replacement or yearly check-ups helps keep the lens in good condition.
Can You Put HID in Halogen Projectors?why you need to know
This website is a participant in the Amazon Services LLC Associates Program, an affiliate advertising program designed to provide a means for us to earn fees by linking to Amazon.com and affiliated sites.