This website is a participant in the Amazon Services LLC Associates Program, an affiliate advertising program designed to provide a means for us to earn fees by linking to Amazon.com and affiliated sites.
Changing your galaxy projector’s laser color is simple. Most models use a remote control or mobile app. This guide provides the proven methods for popular brands.
Customizing colors lets you match your mood or room decor. You can create vibrant nebulas or calm, single-color starfields. It solves the problem of a static, monotonous light show.
You will learn remote control functions, smartphone app connections, and manual adjustment tips. We’ll also cover troubleshooting for common issues. Follow this complete guide for expert-level customization.
Best Galaxy Projectors for Custom Laser Colors
Choosing a projector with versatile color controls is key. The best models offer extensive customization via remote or app. We recommend these three for their reliable performance and excellent color-changing features.
BlissLights Sky Lite 2.0 – Best Overall Choice
The BlissLights Sky Lite 2.0 is a top-rated model for color customization. It features a dedicated color cycle button on its remote to smoothly transition between blue, green, and red nebula clouds. Its simple interface makes it ideal for beginners seeking easy, beautiful effects.

SEGA Homestar Flux (Original) – Best for Authenticity
The SEGA Homestar Flux uses genuine optical discs to project realistic stars. You change the laser star color by swapping the physical discs, offering unique, high-quality hues. This is the best option for purists who want museum-quality starscapes with true color variation.

- Project 60,000 twinkling high definition stars onto your rooms ceiling or…
- Christmas 2021: Order till Friday December 17 and usually receive in time.
- Leading brand with 5-watt warm white LED technology
Encalife Atmos Smart Galaxy Projector – Best for Tech Enthusiasts
The Encalife Atmos connects to a smartphone app for ultimate control. You can select from millions of custom colors for the laser stars and nebula independently. This model is ideal for smart home integration and creating perfectly themed environments with exact color matches.

- Immersive 3D Galaxy Experience with Advanced Star Projector Technology…
- 60 Dynamic Themes & Educational Fun with Galaxy & Aurora Effects: Explore…
- Customizable Comfort Features for Bedroom Ambiance: Set your preferred…
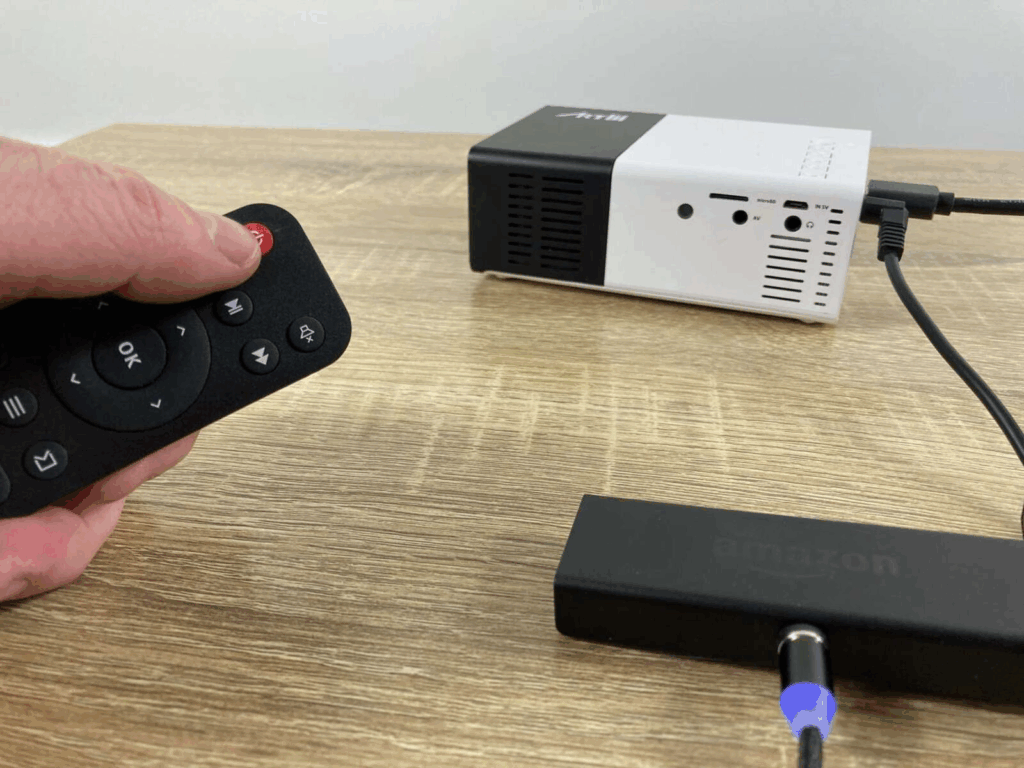
How to Change Laser Color Using Your Projector Remote
Most galaxy projectors include a dedicated remote. This is the most common method for adjusting laser star colors. The process is usually straightforward and requires no additional apps.
Identifying Key Remote Control Buttons
First, locate the color-specific buttons on your device’s remote. These are often labeled clearly. Look for symbols or words indicating color mode or cycle functions.
- Color Cycle Button: Often a single button that automatically rotates through preset colors. Press it to shift from blue to green to red.
- Dedicated Color Buttons: Individual buttons for specific colors (e.g., Blue, Green, Red). Press directly to select.
- Mode or Function Button: May need to be pressed first to switch control from nebula clouds to laser stars before selecting a color.
Step-by-Step Remote Control Process
Follow this general sequence to ensure you change the laser color correctly. Exact steps may vary slightly by brand.
- Power on your galaxy projector and ensure the remote has working batteries.
- If your remote has a “Laser” or “Star” mode button, press it to target the correct light element.
- Press the desired color button or the color cycle button until your preferred hue appears.
Troubleshooting Common Remote Issues
If your remote isn’t responding, a few simple checks can solve the problem. This ensures you regain control quickly.
First, replace the remote batteries with fresh ones. Ensure you are pointing the remote directly at the projector’s sensor from a reasonable distance.
Some projectors have a physical toggle switch on the unit itself to choose between remote and app control. Make sure it is set to “Remote” if applicable.
Advanced Color Control via Smartphone App
Many modern projectors offer app-based control for advanced customization. This method provides the most precise color selection. It often allows for millions of color combinations.
Connecting Your Projector to the App
First, download the official app for your projector brand from the App Store or Google Play. Ensure your smartphone’s Bluetooth is enabled for the connection process.
- Power on your galaxy projector and place it in pairing mode (often indicated by a flashing light).
- Open the app and follow the in-app instructions to discover and connect to your device.
- Once connected, navigate to the laser or star control section within the app interface.
Using App Features for Custom Colors
App controls typically offer far more than a basic remote. You can achieve exact shades and create dynamic scenes.
- Color Wheel/Picker: Select any hue from a full spectrum for pinpoint accuracy.
- Independent Controls: Often, you can set colors for laser stars and nebula clouds separately.
- Preset & Custom Themes: Save your favorite color combinations for one-tap activation later.
Comparing Remote vs. App Control Methods
Choosing between a remote and an app depends on your needs for convenience versus customization. The table below highlights the key differences.
| Control Method | Best For | Key Limitation |
|---|---|---|
| Physical Remote | Quick changes, simplicity, no phone needed | Limited to preset color options |
| Smartphone App | Precise color selection, custom themes, scheduling | Requires phone battery and Bluetooth connection |
Manual Adjustments and Physical Modifications
Some projectors allow manual tweaks or require physical changes for color. This is common in older or disc-based models. Understanding these methods ensures you can customize any device.
Changing Colors on Disc-Based Projectors
Models like the SEGA Homestar use physical optical discs. The laser color is determined by the film on the disc itself. To change it, you must swap the star disc.
- Power off the projector and open the disc compartment.
- Carefully remove the current star disc and insert a new one with your desired color scheme.
- Close the compartment and power the unit on to see the new laser star colors.
Adjusting Focus and Color Saturation
Manual focus rings can indirectly affect color perception. A sharper or more diffused focus changes how colors blend and appear on your ceiling.
- Sharp Focus: Creates distinct, bright points of colored light. Ideal for vibrant, clear stars.
- Soft Focus: Blends colors into softer, dreamier halos. This can make a single color appear more pastel.
- Combination Play: Adjust focus while a color cycle mode is active for dynamic, evolving effects.
When Color Change Isn’t Working: Basic Checks
If your laser color won’t change, perform these systematic checks. Start with simple solutions before assuming a device fault.
First, verify the correct operational mode is selected. Some projectors have separate modes for “Nebula Only” and “Stars & Nebula.” Ensure the laser stars are activated.
Consult your user manual for model-specific instructions. Reset the projector to factory settings as a last resort to clear any software glitches affecting color control.
Creative Ideas for Using Custom Laser Colors
Once you master color control, you can tailor your galaxy projector to any occasion. Custom colors enhance ambiance, mood, and thematic decor. These practical ideas will help you get the most from your device.
Setting the Mood for Relaxation or Focus
Different colors have proven psychological effects. Use your projector’s custom settings to create environments that support specific mental states.
- Calm & Sleep: Use deep blues or soft purples. These cool tones promote relaxation and melatonin production.
- Focus & Energy: Opt for green or warm amber hues. Green is associated with concentration, while amber feels cozy and alert.
- Meditation: Cycle slowly between two complementary calm colors, like indigo and violet, to aid mindfulness.
Thematic Decor for Parties and Events
Transform any room into a themed space instantly. Match your laser star colors to your event’s color scheme for an immersive experience.
| Event Type | Recommended Laser Colors | Pro Tip |
|---|---|---|
| Space-Themed Party | Icy Blue, White, Silver | Use a sharp focus for crisp “alien” stars. |
| Romantic Evening | Deep Red, Rose Pink, Gold | Combine with the nebula cloud for a warm glow. |
| Holiday Gathering | Green & Red (Christmas), Orange (Halloween) | Use the app to save a holiday-themed preset. |
Syncing Colors with Music or Movies
For a truly dynamic experience, manually change colors to match your entertainment. This creates a synchronized, immersive home theater.
During a sci-fi movie, shift to cool blues and greens during space scenes. For an action film, use intense reds and ambers during key sequences.
Play music and use your remote’s color cycle button to pulse with the beat. This turns your galaxy projector into a responsive visualizer for a unique audio-visual experience.
Maintenance Tips for Optimal Laser Color Performance
Proper care ensures your projector’s colors remain vibrant and controls stay responsive. Regular maintenance prevents common issues that can dim or alter your laser star colors. Follow these best practices for long-lasting performance.
Keeping Your Lenses and Sensors Clean
Dust and fingerprints on the lens can significantly dull and distort projected colors. A dirty infrared sensor can also cause remote control malfunctions.
- Power off and unplug the projector. Let it cool completely if recently used.
- Gently use a microfiber cloth designed for lenses to wipe the projection lens in a circular motion.
- Wipe the remote sensor on the projector body with the same dry cloth to ensure clear signal reception.
Preventing Color Fading and Dimming
Laser diodes can degrade over time, leading to dimmer or less accurate colors. Proper usage habits extend their lifespan.
- Avoid Overheating: Never run the projector for more than 8-12 hours continuously. Ensure its vents are unobstructed.
- Use Stable Power: Connect to a surge protector. Power fluctuations can stress the internal laser components.
- Store Properly: When not in use for extended periods, store the projector in a cool, dry place away from direct sunlight.
When to Seek Professional Repair or Replacement
Some issues indicate a problem beyond basic maintenance. Recognizing these signs can save you time and prevent further damage.
If only one specific color fails to display (e.g., no red stars), the internal laser diode for that color may be faulty. This typically requires professional repair.
Contact the manufacturer if the unit stops responding to all color commands after a reset. Check your warranty status, as laser component issues are often covered.
Expert Troubleshooting for Persistent Color Issues
If basic checks don’t resolve your color problems, deeper troubleshooting is needed. This section addresses complex issues that prevent successful laser color changes. Follow these expert steps to diagnose and fix your projector.
Resetting Your Galaxy Projector to Factory Settings
A factory reset clears software glitches that may lock color functions. This is a powerful step when the projector behaves erratically.
- Locate the small reset pinhole on the projector body, often near the power port.
- Use a paperclip or sim ejector tool to press and hold the button inside for 5-10 seconds.
- Release and allow the projector to fully reboot. You will need to re-pair with apps and reconfigure preferences.
Diagnosing Remote and App Connection Failures
When controls are unresponsive, isolate the problem to the remote, app, or projector hardware. This systematic approach finds the root cause.
| Symptom | Likely Cause | Solution to Try |
|---|---|---|
| Remote works, app doesn’t | Bluetooth pairing error or app bug | Forget device in phone Bluetooth settings, reinstall app, and re-pair. |
| App works, remote doesn’t | Dead remote batteries or IR sensor fault | Replace batteries. Test remote on a phone camera (IR light should flash). |
| Neither works for color change | Projector mode error or mainboard issue | Perform factory reset. If no change, contact manufacturer support. |
Understanding Hardware Limitations and Upgrades
Some color limitations are inherent to your projector’s design. Knowing this prevents frustration and guides future purchases.
Basic, single-laser models can only project one star color at a time. They cannot mix colors to create new ones like advanced RGB laser models can.
If you crave millions of colors, upgrading to an RGB laser projector with app control is necessary. Research models with independent color channels for the ultimate customization.
Safety Precautions When Changing Laser Colors
Working with laser projectors requires awareness of safety guidelines. Proper handling protects your eyes, device, and home. Always prioritize safety over experimentation.
Essential Laser Safety for Eyes and Skin
Never look directly into the projector’s laser output lens. Even diffuse reflections from shiny surfaces can be harmful with prolonged exposure.
- Avoid Direct Exposure: Do not stare at the laser source. Ensure the projector is positioned to beam onto a wall or ceiling, not into a room’s walking path.
- Keep Out of Reach of Children and Pets: Place the projector where curious hands and eyes cannot access the lens directly.
- Understand Laser Classes: Most home projectors are Class 1 or Class 2, which are safe for accidental exposure, but caution is still critical.
Safe Handling During Physical Adjustments
When swapping discs or cleaning, always power down and unplug the unit. This prevents electrical shock and accidental laser activation.
- Always turn the projector off and unplug it before opening any compartment or touching the lens.
- Handle optical discs by their edges to avoid scratches and fingerprints that can distort light and color.
- When adjusting manual focus rings, do so gently. Forcing a stuck ring can break internal components.
Preventing Overheating and Electrical Hazards
Projectors generate heat during operation. Proper setup is vital for safe, long-term use and consistent color performance.
Place the projector on a hard, flat, stable surface. Never cover the ventilation grilles or operate it on soft bedding or carpets that can block airflow.
Use the manufacturer-provided power adapter. Third-party chargers may not regulate voltage correctly, potentially damaging the laser diodes or creating a fire risk.
Conclusion: Mastering Your Galaxy Projector’s Laser Colors
Changing your galaxy projector’s laser color unlocks its full potential. You can now customize moods, themes, and ambiance with ease. Use your remote, app, or manual methods confidently.
The best practice is to start with your remote for quick changes. Then, explore app controls for unlimited creative possibilities. Always prioritize safety during adjustments.
Experiment with the color ideas we shared. Create your own unique presets for different occasions. Your room’s atmosphere is now in your hands.
Enjoy transforming your space with a personalized galaxy of color every single night.
Frequently Asked Questions about Changing Laser Colors
What is the easiest way to change laser color on a galaxy projector?
The easiest method is using the included remote control. Most remotes have a dedicated “Color” or “Cycle” button. Simply press this button to rotate through preset color options instantly.
This requires no technical setup or smartphone. It’s the most straightforward solution for quick changes without opening an app.
How do I change the laser color on a BlissLights projector?
For BlissLights models like the Sky Lite 2.0, use the small button remote. Press the button with a color wheel icon to cycle the laser star colors. Each press changes the hue.
The colors will shift between blue, green, and red. The nebula cloud color changes separately using its own control button on the remote.
Why won’t my galaxy projector change laser colors?
First, check that the projector is in a mode where the laser stars are active. Some “Nebula Only” modes disable them. Also, ensure you’re targeting the laser function, not the cloud, with your remote or app.
If the mode is correct, try a factory reset. Persistent failure of one specific color may indicate a faulty laser diode needing repair.
Can I create custom colors not on the remote?
Yes, but only if your projector supports smartphone app control. Models with dedicated apps, like the Encalife Atmos, feature a full color wheel. This allows you to select any hue from millions of options.
Projectors that only use a physical remote are limited to their built-in preset colors. Check your model’s specifications for app compatibility.
What is the best galaxy projector for unlimited color options?
The best projectors for unlimited colors use RGB laser diodes and smartphone control. The Encalife Atmos Smart Galaxy Projector is a top choice. Its app gives independent control over star and nebula colors.
This setup allows for true customization, letting you match any theme or mood with exact color picks. Look for “RGB laser” and “app control” in product descriptions.
How do I change colors on a SEGA Homestar Flux projector?
The SEGA Homestar Flux uses physical star discs. To change the laser star color, you must swap the optical disc inside the machine. Power off the unit, open the disc compartment, and insert a new disc.
Each disc contains a fixed star field color. You purchase additional discs to get different color schemes, making it a manual but high-quality method.
Is it safe to look at the laser from a galaxy projector?
You should never look directly into the projector’s laser output lens. These devices are designed to project onto a surface, like a ceiling, for indirect viewing. The reflected light is safe.
Most consumer models are Class 1 lasers, which are safe in normal use. Always follow the manufacturer’s safety guidelines and keep the projector out of direct eye line.
Can I set my galaxy projector to automatically cycle colors?
Many projectors with a remote have an auto-cycle function. Hold down the color button or look for a “Mode” setting that says “Auto” or “Cycle.” This will slowly transition through colors automatically.
In advanced smartphone apps, you can often create custom sequences or schedules. This lets you program a color cycle to start at a specific time each night.
This website is a participant in the Amazon Services LLC Associates Program, an affiliate advertising program designed to provide a means for us to earn fees by linking to Amazon.com and affiliated sites.