
This website is a participant in the Amazon Services LLC Associates Program, an affiliate advertising program designed to provide a means for us to earn fees by linking to Amazon.com and affiliated sites.
A DIY bulletin board is an easy, affordable way to organize notes, display photos, share important announcements, and add personality to your home, classroom, or office. With a few simple materials, such as cork, fabric, foam board, or an old picture frame, you can create a personalized board that suits your needs and decorating style.
Whether you want a stylish workspace organizer, a colorful classroom display, or a family message center, making your own bulletin board gives you the freedom to choose its size, colors, patterns, and layout. You can even reuse materials you already have at home to keep costs low.
In this guide, you’ll discover how to make a DIY bulletin board, which materials work best, and how to decorate your finished project. You’ll also find practical product recommendations, creative design ideas, and answers to common questions to help you cre
Best Products for Making a DIY Bulletin Board
Choosing the right materials can make your bulletin board easier to build, more durable, and more attractive. These three products are useful starting points for different DIY projects.
Best for traditional DIY projects
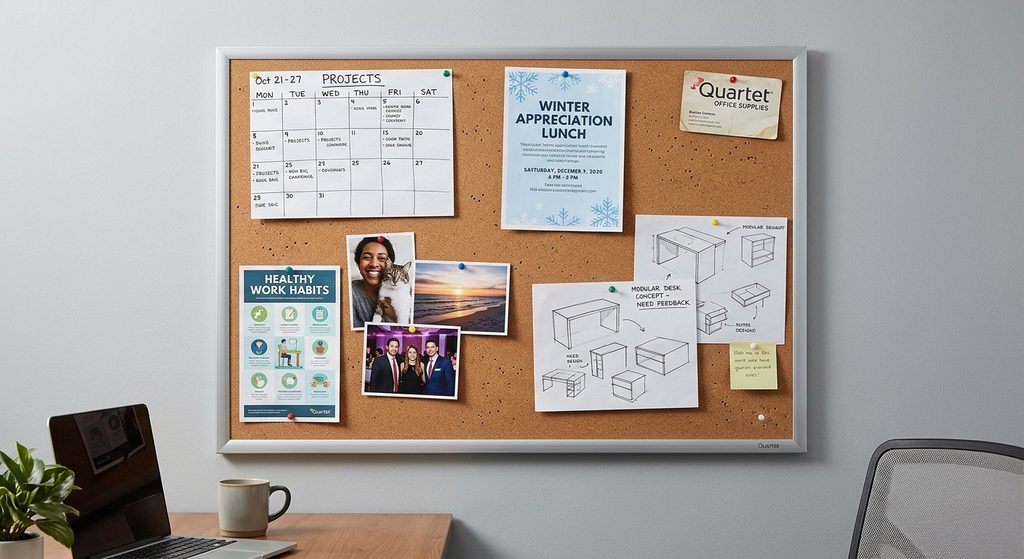
This cork board provides a practical pinning surface for notes, photographs, reminders, and classroom materials. It is a useful foundation for beginners who want to customize an existing board.
Best for lightweight custom boards
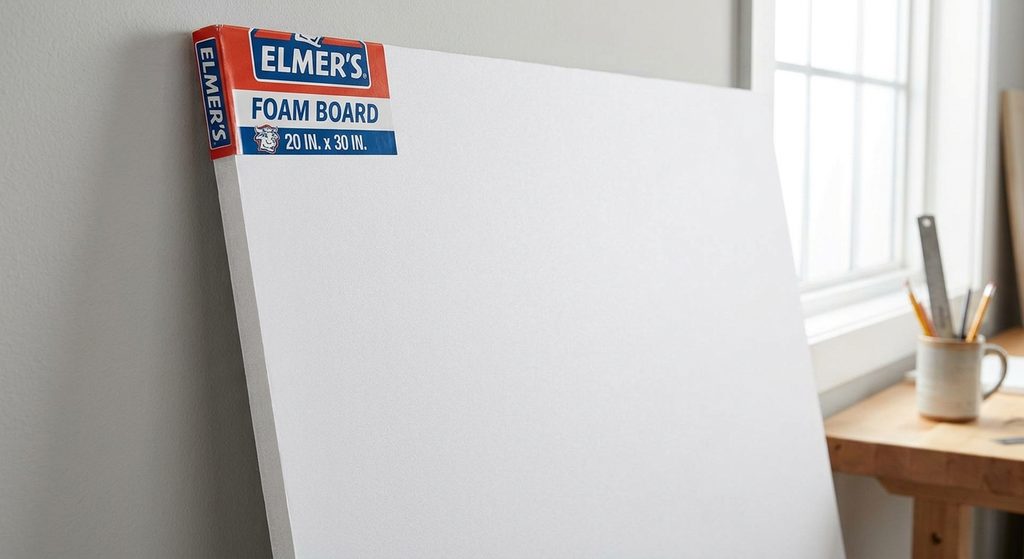
Foam board is easy to cut and shape for small displays, decorative projects, and lightweight notice boards. Add fabric or another suitable covering for a personalized finish, and secure it appropriately.
Best for precise fabric and craft cutting
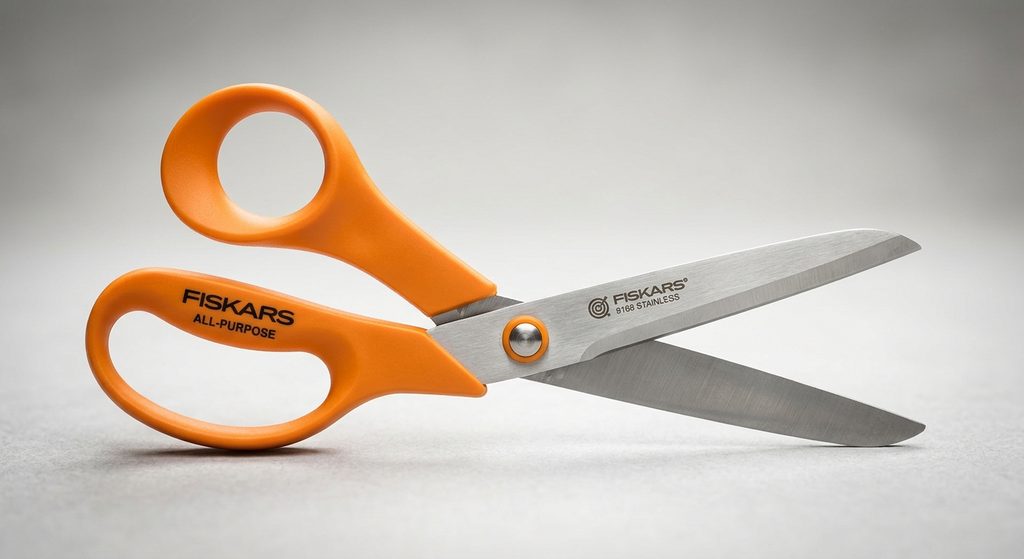
Reliable scissors help you cut fabric, ribbon, paper, and decorative trim neatly. They are useful for creating clean edges and professional-looking details when assembling your homemade bulletin board.
Related supplies worth considering include fabric, cork sheets, decorative washi tape, push pins, ribbon, a picture frame, adhesive, and mounting hardware. Choose products compatible with your board material and intended installation.
What Materials Do You Need to Make a DIY Bulletin Board?
The materials you need for a DIY bulletin board depend on your preferred design, available space, and budget. Fortunately, many homemade bulletin boards can be created using affordable craft supplies or repurposed household items.
Before starting, decide whether you want a traditional pinboard, a fabric-covered display, or a decorative board for photos and reminders.
Essential DIY bulletin board supplies
- Base material: Corkboard, foam board, plywood, cardboard, or an old picture frame.
- Covering material: Cotton fabric, burlap, felt, decorative paper, or wrapping paper.
- Adhesive: Craft glue, fabric glue, or an appropriate adhesive for your chosen materials.
- Cutting tools: Scissors or a craft knife, with adult supervision when using sharp tools.
- Decorative accessories: Ribbon, washi tape, stickers, borders, labels, and colorful push pins.
- Mounting supplies: Suitable hooks, brackets, or wall-safe hanging strips compatible with the board’s weight and wall surface.
How to choose the right materials
For a classic DIY cork bulletin board, use cork sheets or a ready-made corkboard. If you prefer a softer, decorative appearance, cover a suitable backing with fabric and secure it tightly around the edges.
Foam board works well for lightweight displays and temporary projects, while plywood can provide a sturdier foundation when properly prepared and mounted.
You can also recycle an old frame, leftover fabric, or cardboard to reduce waste and save money. However, cardboard may bend under heavy items, so it is better suited to lightweight displays.
Helpful tip: Measure your available wall space before purchasing materials. This simple step helps you avoid unnecessary expenses and ensures your finished DIY bulletin board fits the intended location.
How to Make a DIY Bulletin Board Step by Step
Making a DIY bulletin board is a beginner-friendly craft project that requires only a few materials and some creativity. By following these simple steps, you can create a practical, attractive board for your home, classroom, or office.
Step 1: Choose Your Board Size and Design
Start by deciding where you want to display your bulletin board. A small board works well above a desk, while a larger board is useful for classroom announcements, family schedules, or office reminders.
Measure the available space and sketch a simple design before gathering your supplies.
Step 2: Prepare the Base
Choose a suitable base, such as a corkboard, foam board, plywood panel, or sturdy framed backing. Make sure the surface is clean, dry, and free from loose material.
If you’re using an old picture frame, remove the glass and check that the backing is secure. For a traditional pinboard, select a material thick enough to hold push pins safely.
Step 3: Add Fabric or Decorative Paper
Cut your chosen fabric or paper so that it extends slightly beyond the edges of the board. If you’re using fabric, pull it smooth and secure it around the back with a suitable adhesive or staples appropriate for the backing.
For a simpler design, cover the board with decorative paper or use washi tape to create a neat border.
Step 4: Personalize Your Bulletin Board
Decorate the board to match your space and purpose. Consider adding:
- Ribbon arranged in a crisscross pattern.
- Colorful borders or patterned fabric.
- Labels for different categories.
- Photo corners, stickers, or decorative lettering.
- A small calendar or weekly planner section.
Avoid covering the entire surface with decorations if you need plenty of room for notes and photographs.
Step 5: Mount and Organize Your Board
Allow adhesives to dry according to the manufacturer’s instructions before hanging the board. Use suitable mounting hardware and check that the wall and fixings can support its weight.
Once installed, arrange your notes, photographs, reminders, and announcements neatly. Grouping similar items together makes your DIY bulletin board easier to use.
Practical tip: Before attaching decorations permanently, arrange them on the board to test the layout. This helps you achieve a balanced design without wasting materials.
Creative DIY Bulletin Board Ideas for Home, School, and Office
The best DIY bulletin board ideas combine creativity with practical organization. Whether you prefer a minimalist design or a colorful display, you can customize your board to complement your space and serve a specific purpose.
Here are five creative ideas to inspire your next project.
Fabric-Covered DIY Bulletin Board
A fabric-covered bulletin board adds warmth and texture to a bedroom, study area, or home office. Choose linen, cotton, floral prints, or neutral-colored fabric to complement your existing decor.
Stretch the fabric over a cork or suitable backing board, secure it at the back, and finish the edges with ribbon or decorative trim. You can also use coordinating push pins to create a polished appearance.
DIY Classroom Bulletin Board
A classroom bulletin board can make learning spaces more engaging while keeping important information visible. Teachers can use bright backgrounds, themed borders, student artwork, and clear headings to create attractive displays.
Popular themes include seasonal decorations, reading corners, inspirational messages, classroom rules, and student achievement displays. Use labeled sections to make information easier for students to find.
DIY Office Bulletin Board
An office bulletin board helps organize deadlines, project notes, meeting reminders, and weekly goals. A neutral fabric covering or classic cork surface works particularly well in professional environments.
Divide the board into sections such as To Do, In Progress, Completed, and Important Dates. This simple layout makes it easier to review priorities throughout the day.
DIY Photo and Memory Board
A photo board provides a creative way to display favorite memories, postcards, and inspirational pictures. Use cork, string with small clips, or a framed fabric board to create a personalized display.
Arrange photographs in a grid, collage, or timeline. You can add handwritten captions and small decorative elements to make the board feel more personal.
DIY Recycled Bulletin Board
If you’re working with a limited budget, consider making a bulletin board from reusable materials. An old frame, leftover fabric, cardboard backing, and recycled paper can help you create an inexpensive display.
This option is especially useful for temporary craft projects, student displays, and lightweight household reminders. However, cardboard is not ideal for heavy objects or repeated pinning unless it has a suitable, sturdy backing.
Design tip: Match the board’s colors and decorations to its intended setting. A classroom display may benefit from bright colors, while a home office might look better with a simple, coordinated design.
How to Decorate and Organize Your DIY Bulletin Board
Decorating your DIY bulletin board is an opportunity to combine personal style with practical organization. The right colors, accessories, and layout can turn a plain board into an attractive feature while keeping important information easy to find.
Choose a Color Scheme
Start by selecting two or three complementary colors that suit your room or project theme. Neutral shades such as beige, white, and gray create a clean appearance, while bright colors work well for classrooms, children’s study areas, and creative spaces.
You can use patterned fabric as the background and add a solid-colored border for contrast. Seasonal colors are another option if you plan to update your bulletin board throughout the year.
Add Decorative Borders and Accessories
Small details can make a homemade bulletin board look professionally finished. Consider using:
- Ribbon: Create a crisscross pattern or frame the board’s edges.
- Washi tape: Add geometric patterns, borders, or section dividers.
- Push pins: Choose colors that complement your background.
- Lettering: Use printed labels, stickers, or cutout letters for headings.
- Mini clips: Display photographs, cards, and lightweight paper decorations.
Avoid adding so many decorations that they reduce the board’s usable space.
Organize Information Into Sections
A well-organized bulletin board should be easy to scan. Divide the surface into specific areas according to its purpose.
For example, a home organization board might include a weekly schedule, shopping list, reminders, and family photographs. A classroom board could feature student work, learning objectives, announcements, and upcoming events.
Use headings and consistent colors to distinguish each section. Place frequently used information where it is easy to reach and read.
Keep Your Bulletin Board Updated
Review your board regularly to remove outdated notes, replace old announcements, and rearrange important items. A quick weekly check can prevent clutter from building up.
For frequently changed information, use removable notes, clips, or push pins rather than permanently attaching everything.
Pro tip: Leave a small amount of empty space between sections. This makes your DIY bulletin board look less crowded and helps important information stand out.
Common DIY Bulletin Board Mistakes and How to Avoid Them
Creating a DIY bulletin board is relatively simple, but a few common mistakes can affect its appearance, durability, and usefulness. Understanding these problems before starting can help you achieve a better result while saving time and materials.
Choosing the Wrong Backing Material
One common mistake is selecting a backing that cannot support the items you intend to display. Thin cardboard may work for a temporary decorative board, but it can bend or deteriorate when used frequently.
How to avoid it: Choose cork for regular pinning, suitable foam board for lightweight displays, or a sturdier backing for larger projects. Match the material to your intended use.
Applying Fabric Unevenly
Loose fabric, visible wrinkles, and uneven edges can make a homemade bulletin board look unfinished. Excess fabric may also create bulky corners that are difficult to secure neatly.
How to avoid it: Measure carefully, cut the fabric with a little extra allowance, and smooth it across the board before securing the edges. Work gradually rather than attaching the entire covering at once.
Using Incompatible Adhesives
Not every adhesive works with every material. Some glues may damage foam, leave visible stains on fabric, or fail to hold decorative elements securely.
How to avoid it: Read the product instructions and test the adhesive on a small, inconspicuous area first. Allow it to dry fully before continuing.
Overdecorating the Board
Too many ribbons, stickers, photographs, and decorative borders can leave little space for useful information. An overcrowded display can also make important reminders difficult to locate.
How to avoid it: Plan your layout before decorating. Prioritize the board’s purpose and keep decorations proportional to its size.
Mounting the Board Incorrectly
An improperly mounted bulletin board can tilt, fall, or damage the wall. Lightweight adhesive strips may not be appropriate for every board or surface.
How to avoid it: Check the board’s weight, follow the mounting hardware manufacturer’s instructions, and use suitable fixings for the wall type. Keep heavy objects off boards that are not designed to support them.
Forgetting Regular Maintenance
Even a well-designed board can become cluttered over time. Outdated reminders and overlapping papers reduce its usefulness.
How to avoid it: Remove unnecessary items regularly and reorganize the board whenever your needs change.
Final tip: Focus on durability, readability, and functionality before adding decorative details. A simple, well-made DIY bulletin board is often more useful than an elaborate design that is difficult to maintain.
Conclusion: Create Your Own DIY Bulletin Board
A DIY bulletin board is a simple, affordable way to organize your daily life while adding a personal touch to your home, classroom, or office. With basic materials such as cork, fabric, foam board, and decorative accessories, you can create a functional display that suits your style and budget.
The key to a successful project is choosing the right backing, preparing your materials carefully, and organizing the finished board according to your needs. Whether you prefer a fabric-covered notice board, a colorful classroom display, or a photo memory board, the possibilities are endless.
Start with a simple design and customize it as your needs change. By reusing available materials and keeping decorations practical, you can make a beautiful DIY bulletin board without spending more than necessary.
For more inspiration, explore related guides on classroom bulletin board ideas, seasonal bulletin board decorations, and creative office organization.
Frequently Asked Questions About DIY Bulletin Boards
How do you make a DIY bulletin board at home?
To make a DIY bulletin board, start with a suitable backing such as corkboard or sturdy foam board. Cover it with fabric or decorative paper if desired, secure the edges, add decorations, and mount it using appropriate hardware.
What is the cheapest material for a homemade bulletin board?
Recycled cardboard, leftover fabric, and an old picture frame can help reduce costs. However, cardboard is best for lightweight, temporary displays, while cork is generally more suitable for repeated pinning.
Can you make a bulletin board without cork?
Yes. You can create a display using fabric-covered foam board, a framed pinning surface, or a string-and-clip arrangement. Remember that ordinary foam board and cardboard may not hold push pins securely, so choose a construction suitable for your intended use.
How do you cover a bulletin board with fabric?
Measure the board, cut fabric with extra material around the edges, and smooth it across the surface. Secure the fabric at the back using a compatible adhesive or suitable staples, then trim excess material for a neat finish.
How can you hang a DIY bulletin board without damaging the wall?
Wall-safe adhesive strips or removable hooks may work for lightweight boards when used according to their instructions. Check the weight rating and wall-surface requirements before installation.
What can you put on a DIY bulletin board?
You can display photographs, calendars, reminders, shopping lists, inspirational quotes, classroom announcements, student artwork, and project schedules. Use labels or separate sections to keep everything organized.
How do you make a DIY bulletin board look attractive?
Choose a coordinated color scheme, add a neat border, and use matching pins or decorative clips. Keep the layout balanced and leave enough open space for new information.
Are DIY bulletin boards suitable for classrooms and offices?
Absolutely. Classroom boards can display student achievements, lesson themes, and announcements, while office boards can organize deadlines, meeting notes, and weekly priorities. Choose durable materials and an easy-to-update layout for frequently used displays.
This website is a participant in the Amazon Services LLC Associates Program, an affiliate advertising program designed to provide a means for us to earn fees by linking to Amazon.com and affiliated sites.